Photos and Documents
Photos
Section titled “Photos”This tab lets you attach images to the current asset record (for example: device photos, serial label pictures, invoices, delivery notes, or any other visual reference). Photos stay linked to the asset, so peers and administrators can quickly verify the asset condition and details without relying only on text fields.
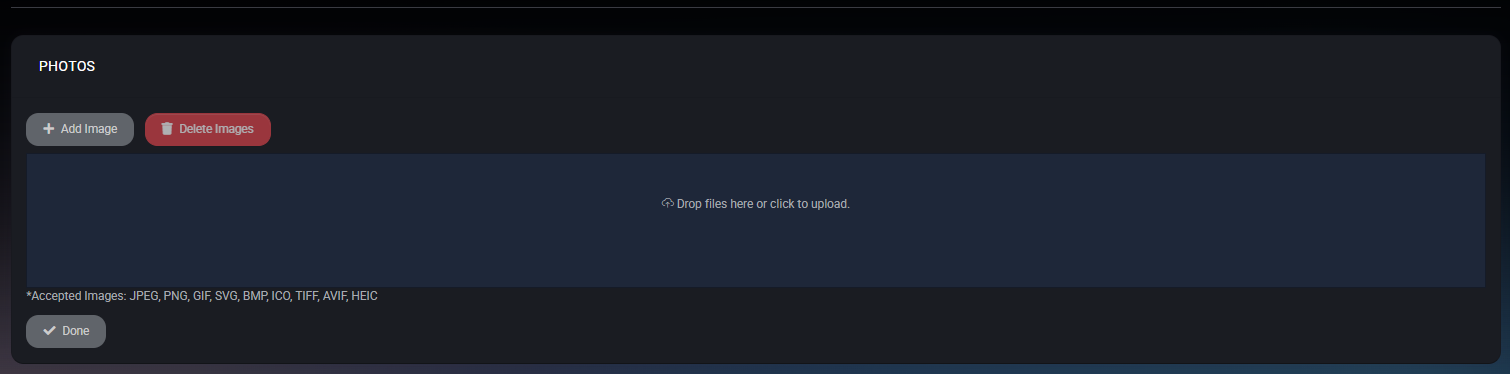
Main actions
Section titled “Main actions”- Add Image – Uploads one or more images to the asset. Clicking Add Image opens an upload area where you can drag and drop files or click to choose files from your computer.
- Delete Images – Removes selected images from the asset. Use this when outdated or incorrect images were uploaded (for example: asset replacement or wrong attachment).
Upload area (add image)
Section titled “Upload area (add image)”When adding images, MSPControl displays a dedicated upload panel:
- Drag & Drop or Click to Upload – Drop files into the highlighted area or click it to select files using the file picker.
- Accepted Image Formats – The upload panel lists the supported formats: JPEG, PNG, GIF, SVG, BMP, ICO, TIFF, AVIF, HEIC.
- Done – Closes the upload panel and returns you to the Photos tab after you finish attaching images.
Photos list
Section titled “Photos list”After uploading, the tab shows the images attached to this asset. If there are no photos yet, MSPControl shows an empty state (for example: No Images…), while still keeping Add Image available for the next upload.
Best practices
Section titled “Best practices”- Add at least one clear photo of the asset label (serial/model) to speed up identification during audits and troubleshooting.
- Upload “before/after” photos when replacing or servicing equipment to keep a visual history in the asset record.
- Remove outdated photos after an asset replacement so the record remains accurate for anyone reviewing it later.
Documents
Section titled “Documents”The Documents tab is used to store and manage files related to a specific asset. It allows attaching manuals, invoices, contracts, configuration files, or any other documentation that should be associated with the asset and easily accessible in one place.
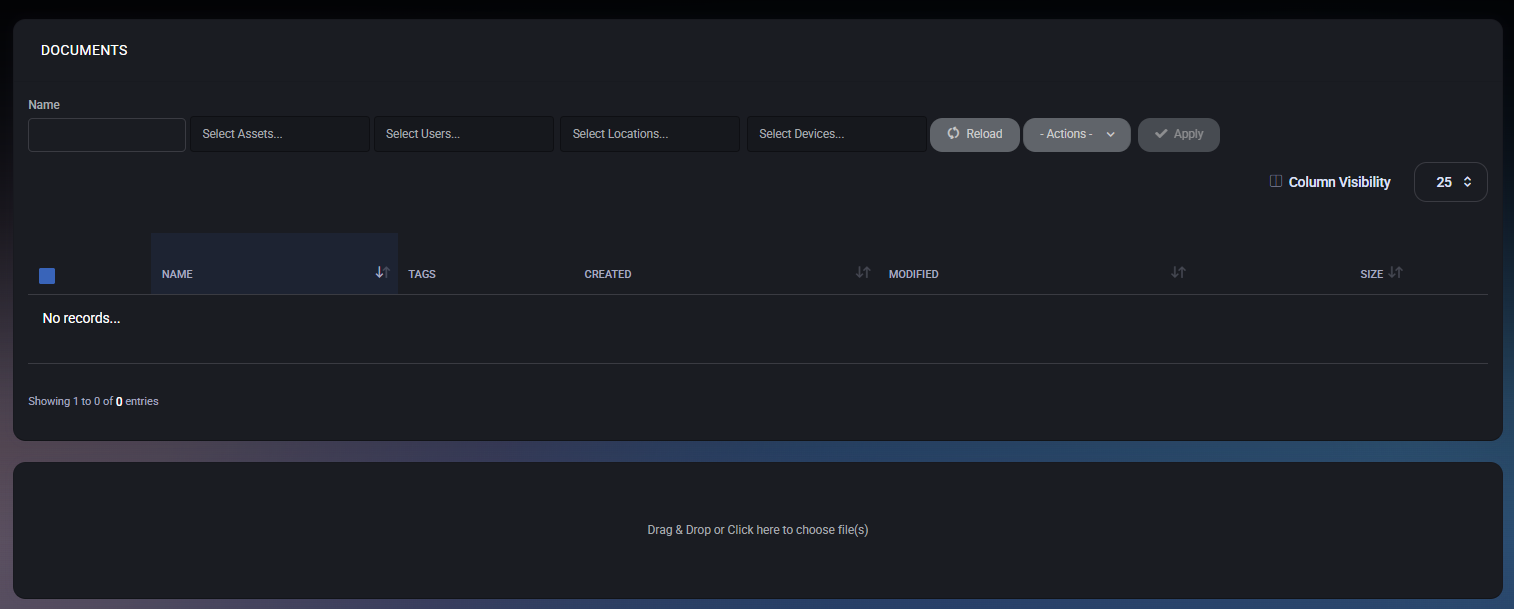
Documents list
Section titled “Documents list”The upper section displays a list of documents already linked to the asset. If no documents are attached, the list will show an empty state. The list supports the following columns:
- Name – Document file name.
- Tags – Tags applied to the document for filtering and access control.
- Created – Date when the document was uploaded.
- Modified – Date of the last modification.
- Size – File size.
Filtering and search
Section titled “Filtering and search”Above the document list, filtering options are available to help locate specific files:
- Name – Filter documents by file name.
- Select Assets – Filter by asset tags.
- Select Users – Filter documents assigned to specific users.
- Select Locations – Filter by location tags.
- Select Devices – Filter by device tags.
Bulk actions
Section titled “Bulk actions”The Actions menu allows performing bulk operations on selected documents:
- Add Asset Tag
- Delete Asset Tag
- Add User Tag
- Delete User Tag
- Add Location Tag
- Delete Location Tag
- Add Device Tag
- Delete Device Tag
- Delete Selected
The Apply button executes the selected action on all checked documents.
Uploading documents
Section titled “Uploading documents”The lower section of the page contains a file upload area. Documents can be added using one of the following methods:
- Drag and drop files into the upload area.
- Click the upload area to select files manually.
Uploaded documents are immediately associated with the current asset and become visible in the list above.
Column visibility
Section titled “Column visibility”The Column Visibility option allows customizing which columns are displayed in the documents table, helping adapt the view to operational needs.
